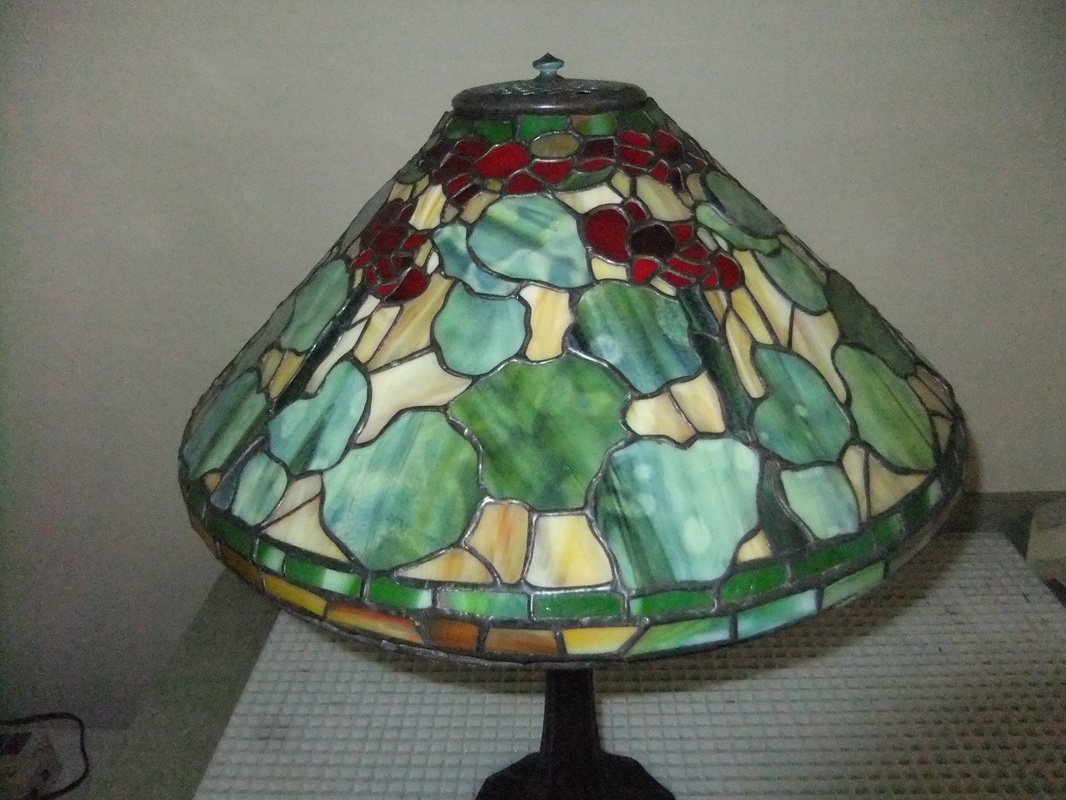
Tiffany's 16" Geranium lamp
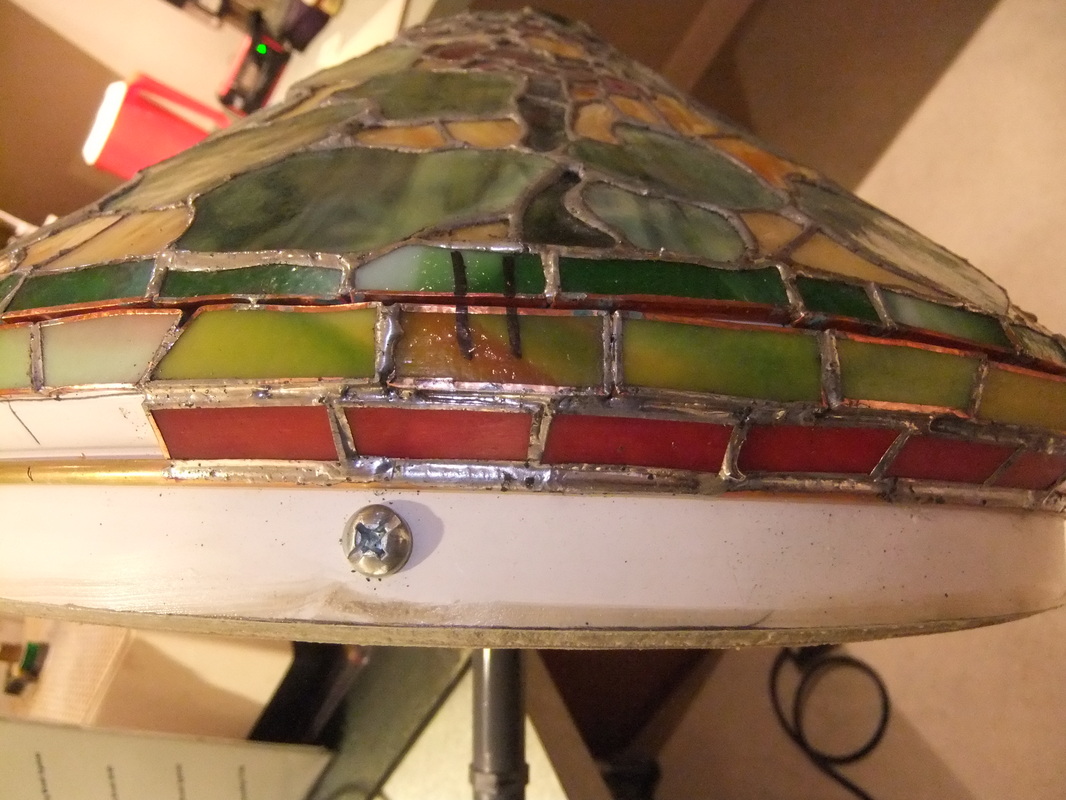
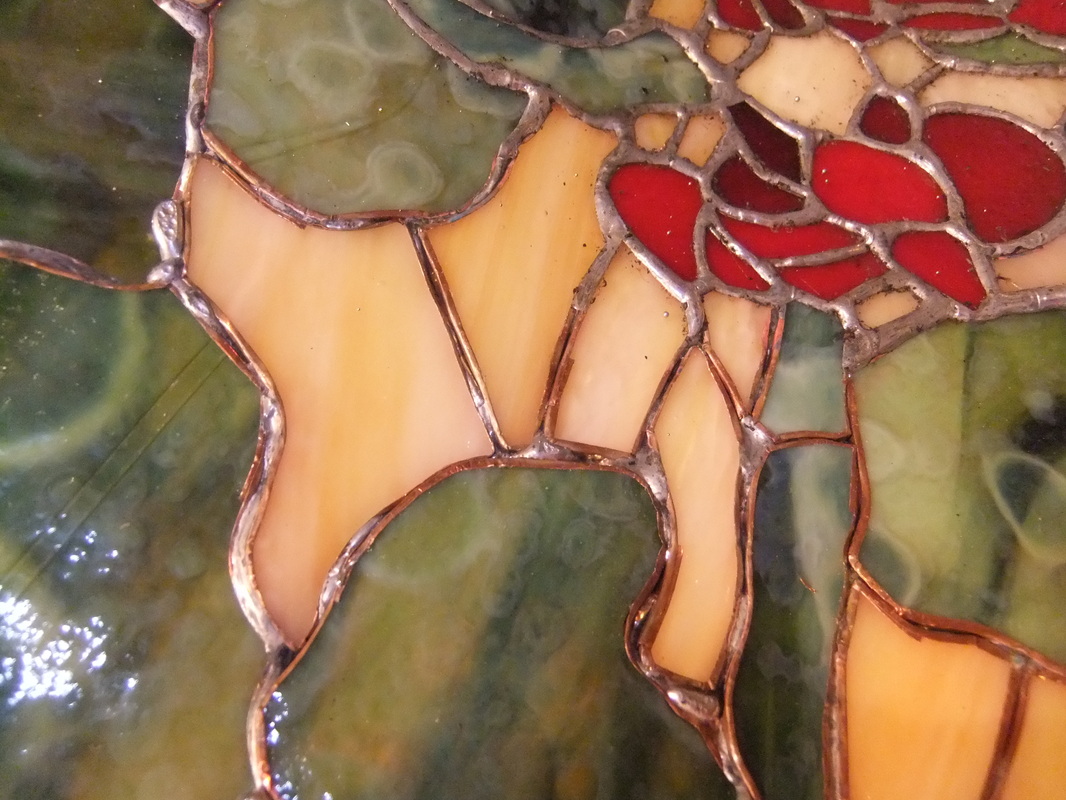
This project is an exact replica of Tiffany's 16" Geranium lampshade. It was built using the Odyssey system. The form is made of fiberglass with the outline of each piece etched in. It is necessary to fill in the etched lines with a permanent marker in order to make the lines more visible before construction begins. A brass ring is fitted in at the top of the lamp and glass pieces are soldered to it. The rest of the lamp is built down from there. Each piece is cut and ground to fit in place, then the edges are wrapped in copper foil and soldered into the pattern. Follow the progress of this lamp construction in the pictures and captions below. The lamp was begun in January 2014 and completed in August 2014.
Click the thumbnails below for a larger view with captions.